Mining on Windows
This is a beginner's guide to mining Scash on Windows.
There are two ways to mine Scash on your home computer.
Solo mining
If you mine a block, the entire block reward is yours
This guide will show how to mine using the GUI wallet app connected to the dedicated CPU mining software cpuminer-scash.
Pooled mining
You mine with other miners at a pool, and share the block reward with other miners
This guide will show how to create an address in the GUI wallet app, which you can then use with mining pools.
Step 1. Download Scash
Download the latest Scash release from Github: https://github.com/scashnetwork/scash/releases/
You can download either the setup.exe or zip file (which you manually unzip).
Step 2. Verify downloads (optional, highly recommended!)
For security and to ensure the integrity of the downloaded file, open a Windows Terminal (Powershell) and run the following command to verify the hash of the downloaded file matches the hash shown on the Github release page.
Get-FileHash Downloads\scash-REST-OF-FILENAMEStep 3. Run the installer
Run the scash windows setup executable. This is a standard Windows installer. Follow the instructions.
After running the installer, you can see where the software has been installed using Windows Terminal (Powershell)
The default location for the application software is C:\Program Files\Scash
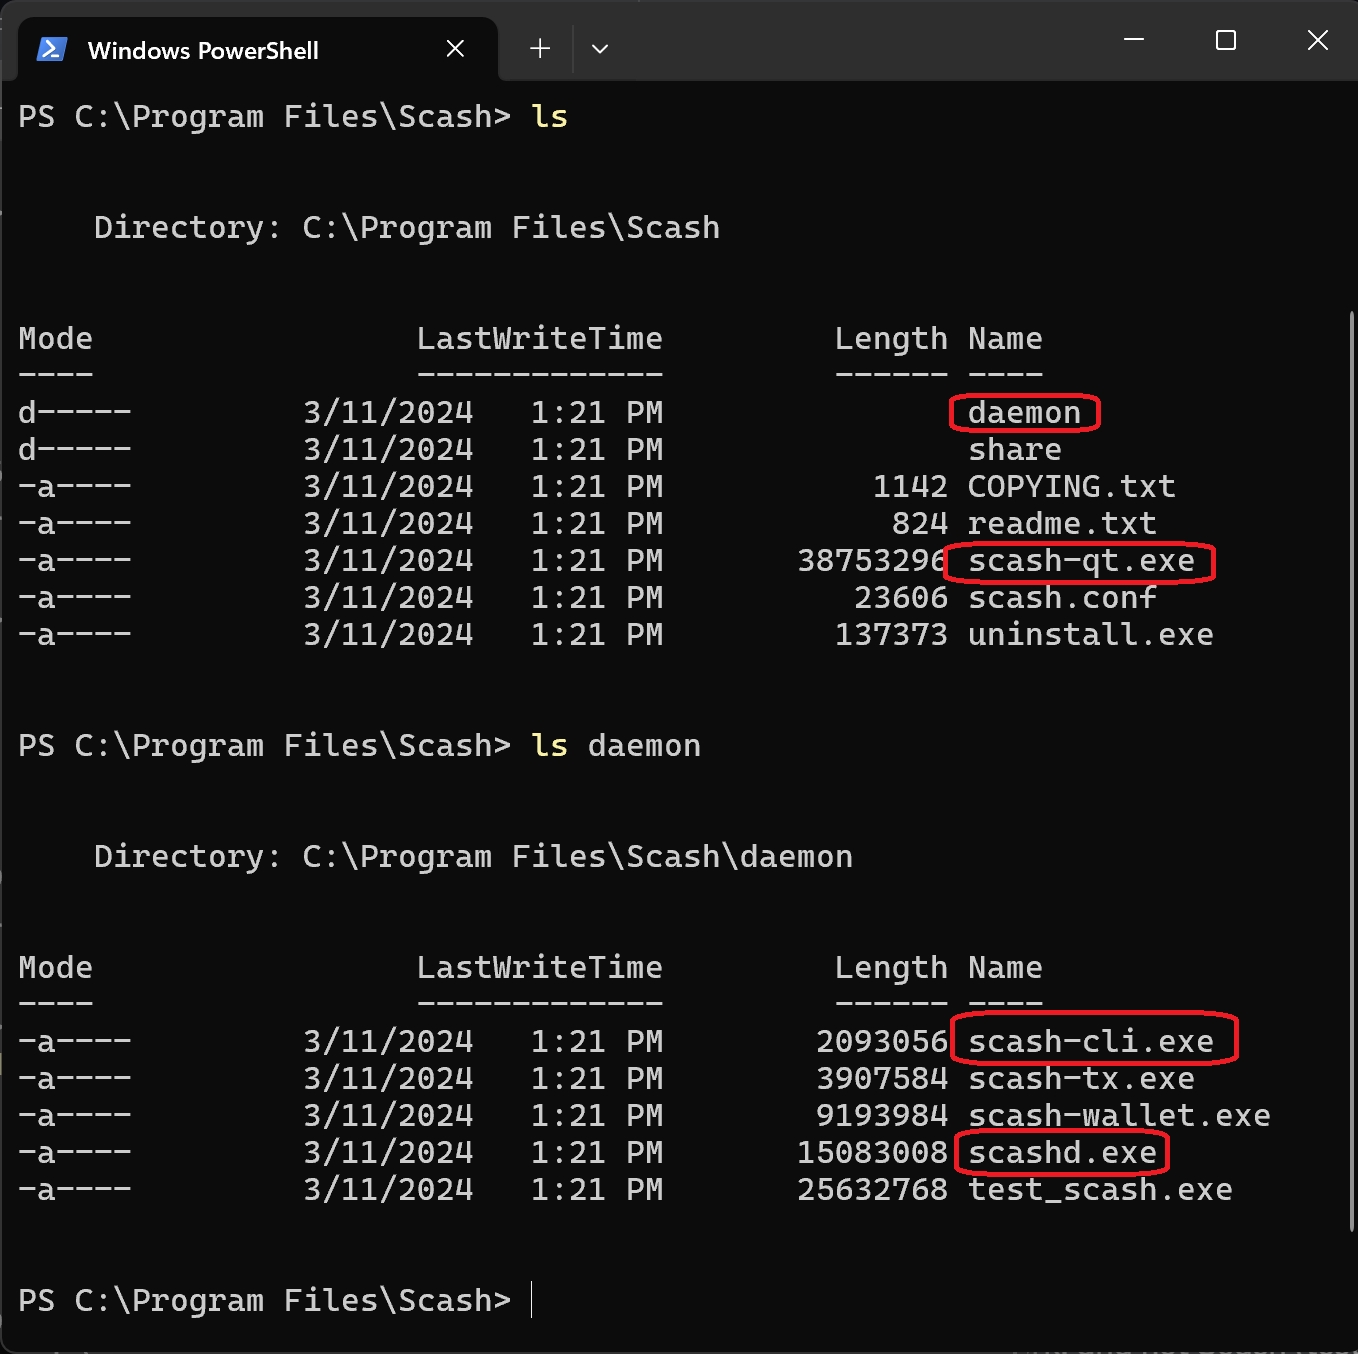
For reference,
The file
scash-qt.exeis the GUI application which you typically launch from the Start menu.
And in the folder daemon
the Server application
scashd.exe(this is the same scash application as the GUI appliction, but without the GUI).The tool
scash-cli.exewhich is used to communicate with both the GUI and the server application (whichever one is running).
Step 4. Launch Scash
Launch Scash from Start menu > Program Files > Scash
Make sure you select Scash for the main network, and not Scash (testnet) which is a testing network.
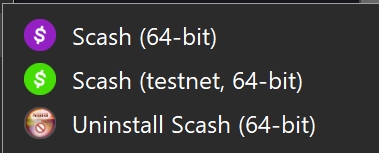
Note: By default, after launching the Scash application, a user folder called C:\Users\USERNAME\AppData\Roaming\Scash will be created as the data directory. This folder is used to store your configuration, your wallet, blockchain data, etc.
Step 5. Sync to the network
After launching the Scash application, it will need to sync up with the main network. This might take a few minutes or longer depending on the network and your connectivity.
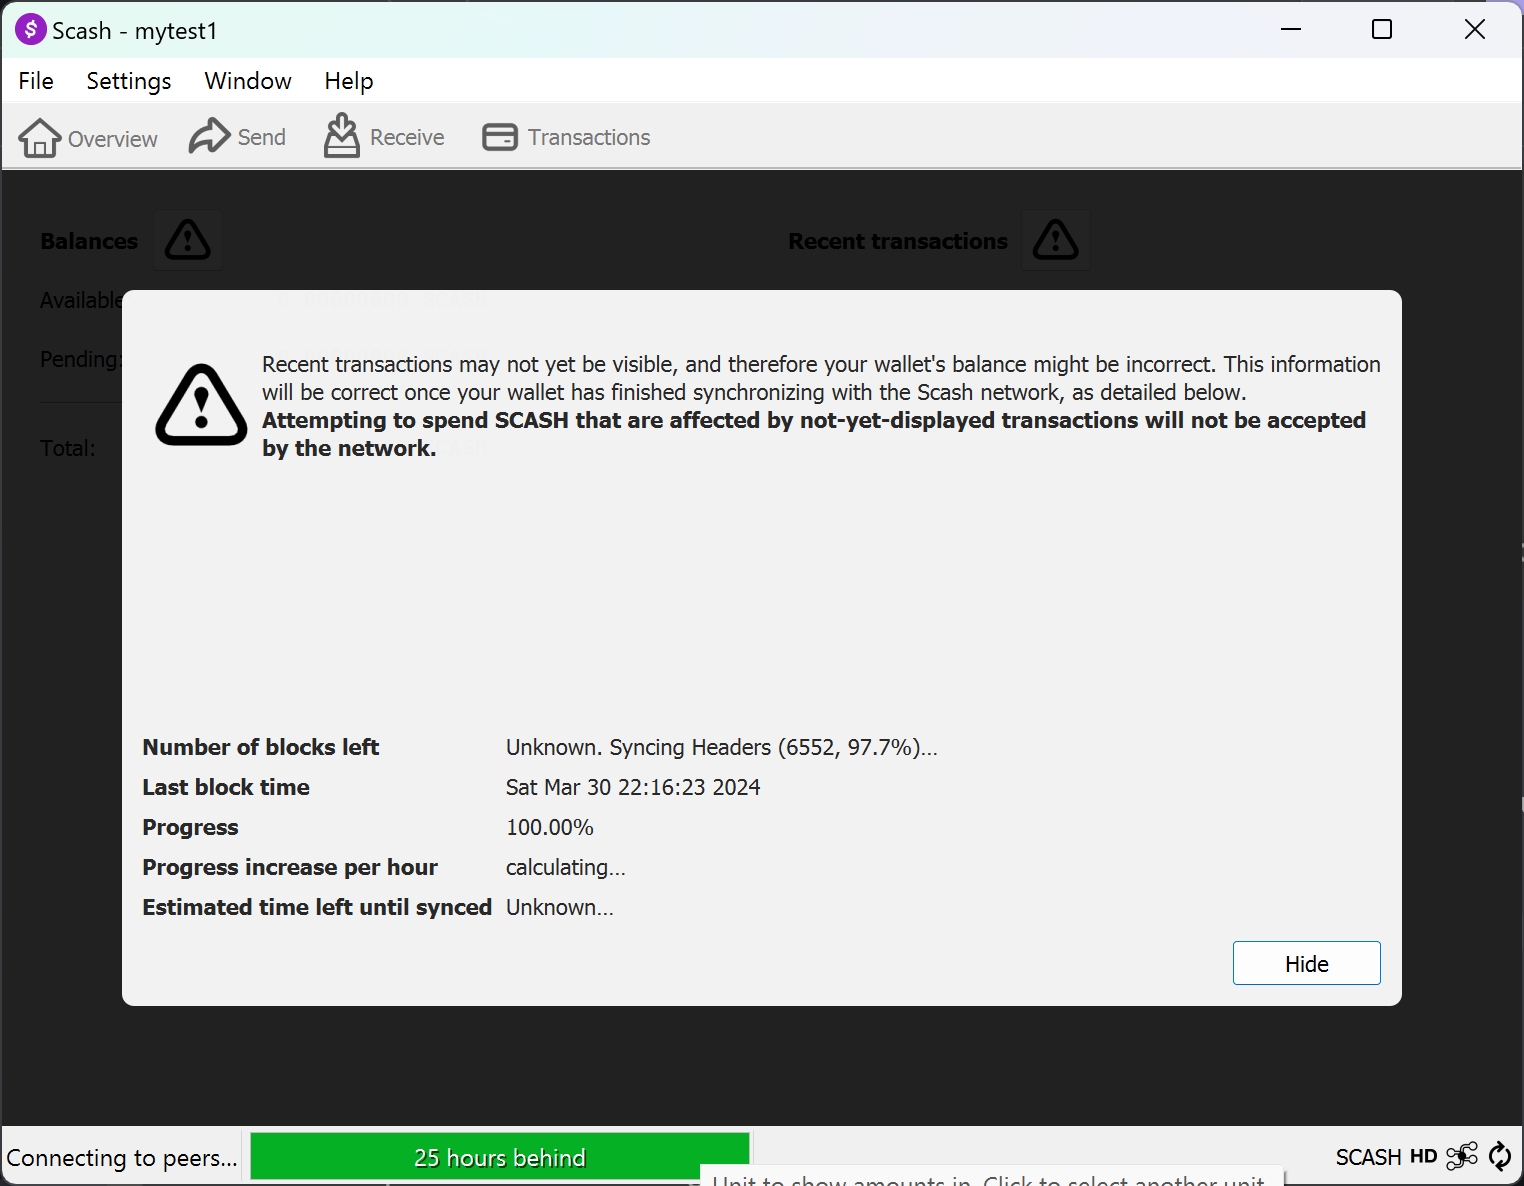
You can click 'Hide' and proceed to create a wallet.
When fully synced, you will see a check mark in the bottom right of the status bar. If you move you mouse over the check mark a tool tip will appear showing some details.

Step 6. Create a wallet
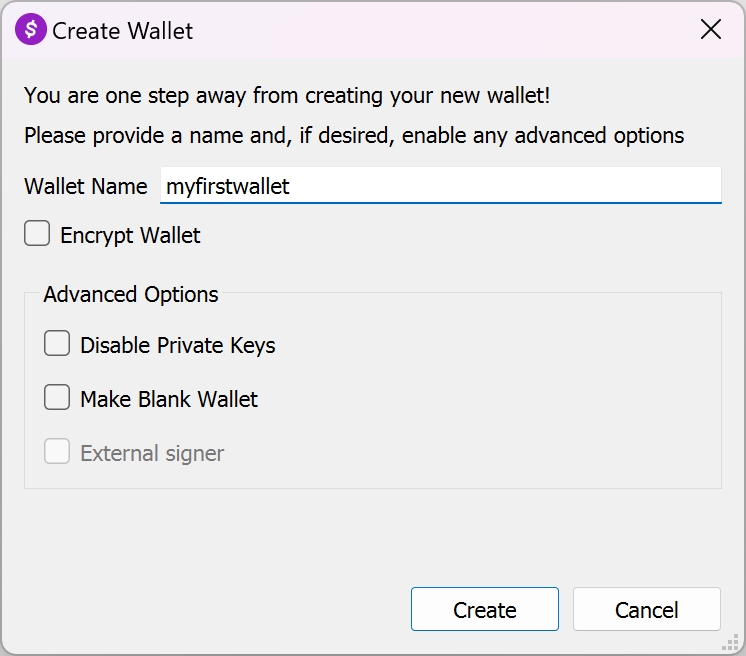
Select the menu option File > Create Wallet... to create a wallet. Enter a name and click create.
Step 7. Create an address in your wallet
Click the Receive tab and create an address where you want to receive your mined coins. Choose a label for the address which is used in your wallet's address book. Leave the amount and message fields empty.
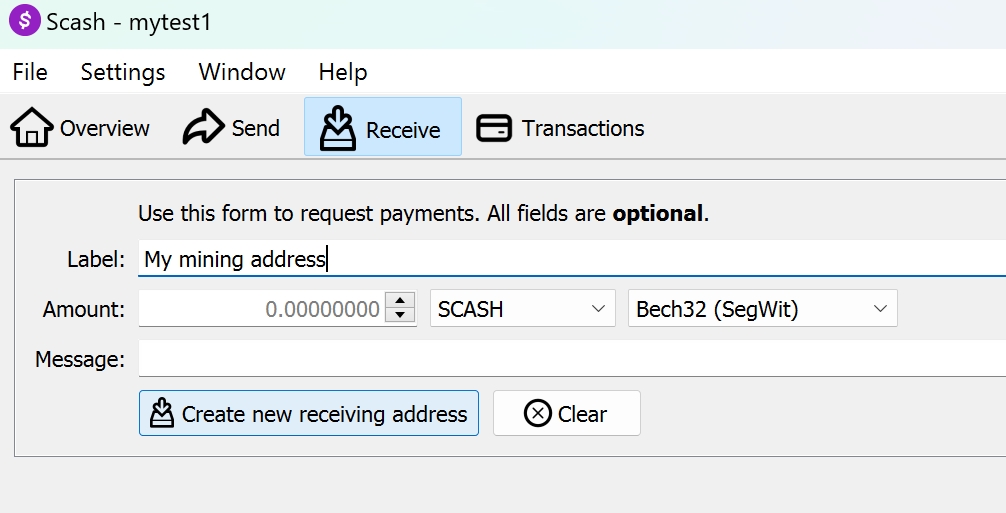
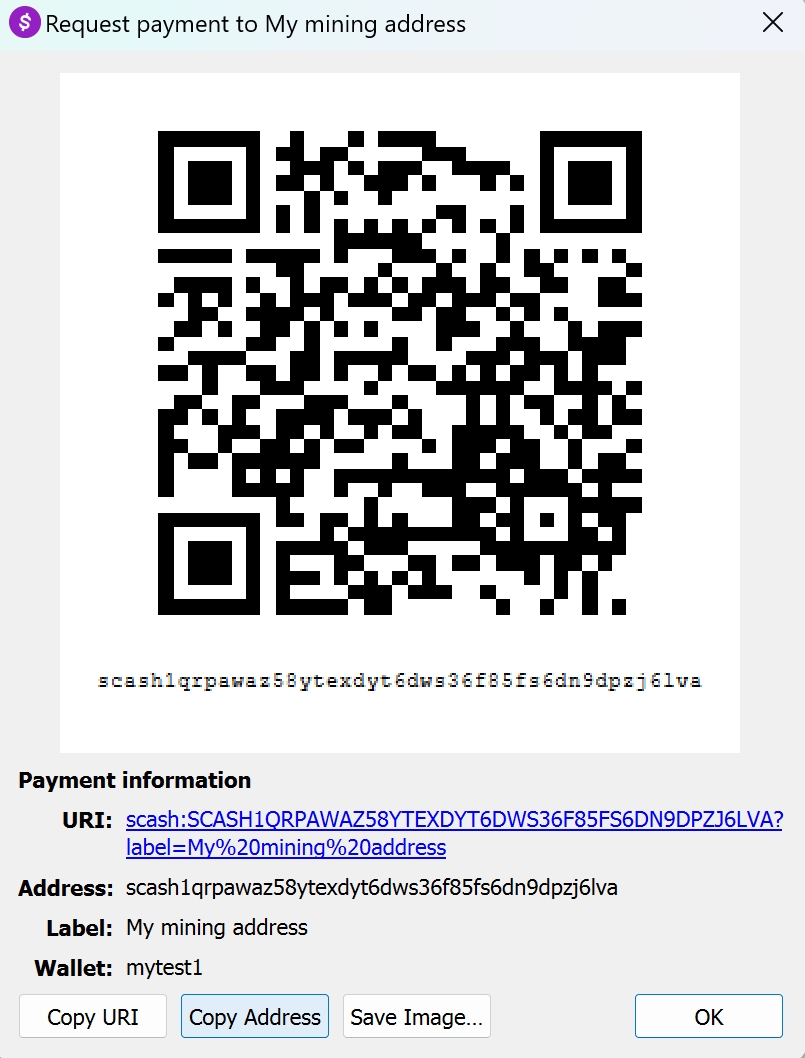
After clicking 'Create new receiving address' you should see a new address has been created. Keep a copy of the address as you will use this with the mining software later.
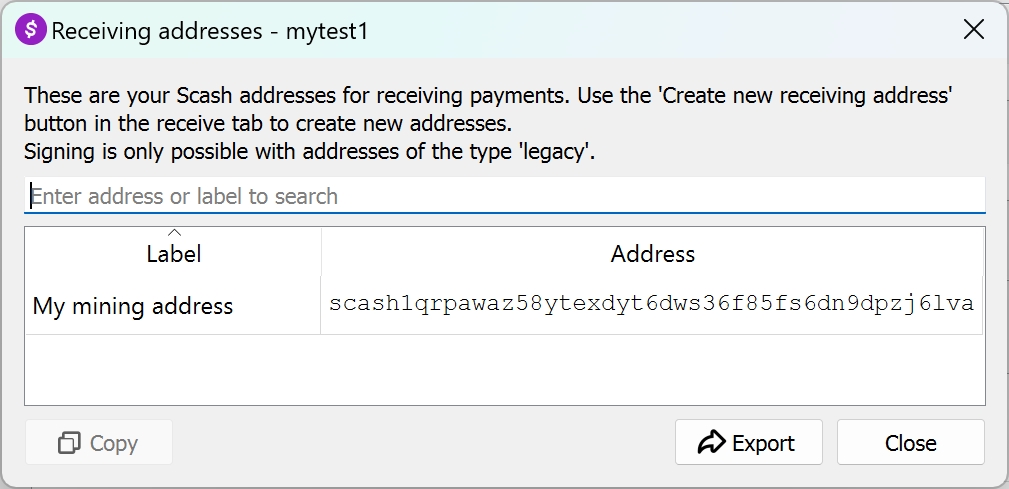
If you select the menu option Window > Receiving addresses you should see your address there.
Mining Pools
Step 8. Edit configuration file
Now you need to configure the Scash application so that the mining software can communicate with it.
Selec the menu item Settings > Options and then:
Select
Enable RPC serverClick
Open Configuration File.
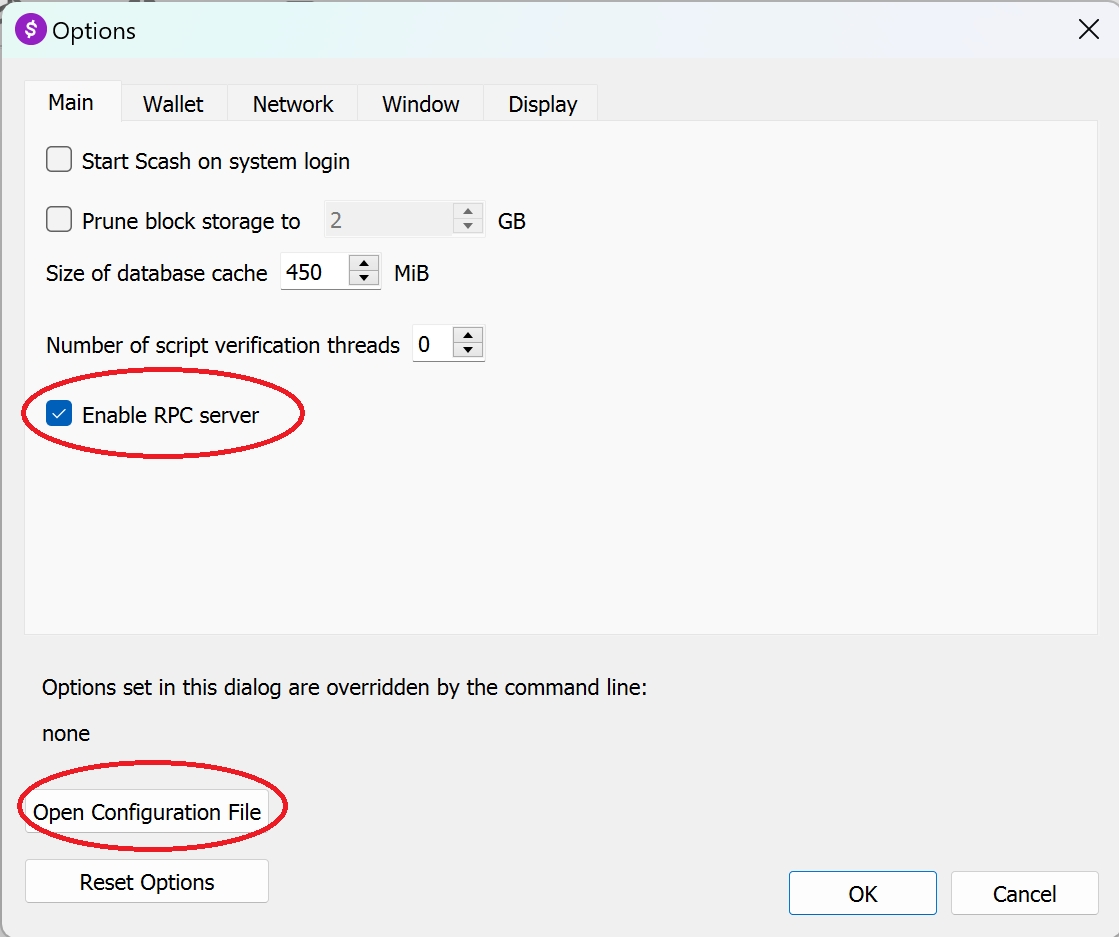
This will open the scash.conf configuration file in the data directory shown earlier. The file may be empty. Add the following to the file:
rpcuser=aladdin
rpcpassword=opensesame

adddnsseed=seed.scash.one
This is the username and password which tools like the mining software will use when communicating with Scash. Without this, the mining software will not be able to connect to Scash.
To help find other nodes on the network, a DNS seed has been specified. The DNS seed shown above is for testing purposes and may not always be online. Users are advised to ask the community for a list of reliable DNS seeds to use, as well as the IP addresses of stable nodes on the network which can be used with the -addnode and -seednode RPC calls.
There is also an advanced setting called randomxfastmode which is not required because you are using dedicated cpu mining software to mine, instead of the Scash application itself.
Miners running the Scashd node with large amounts of memory can enable this option to improve block verification time. The cpuminer already runs in this mode. See spec here for more details: https://github.com/scashnetwork/sips/blob/main/scash-protocol-spec.md#4-algorithm-performance
After editing, save and close the document.
Step 9. Relaunch Scash
Close Scash and relaunch the application so that it uses the new configuration options. You can relaunch Scash from the Windows start menu as before.
Optional: Launch Scash without the GUI
You can also launch Scash as a server application, without the GUI, from the Windows Terminal (Powershell).
C:\Program Files\Scash\daemon\scashd.exe -server
You should see output in the terminal window when the server launches.
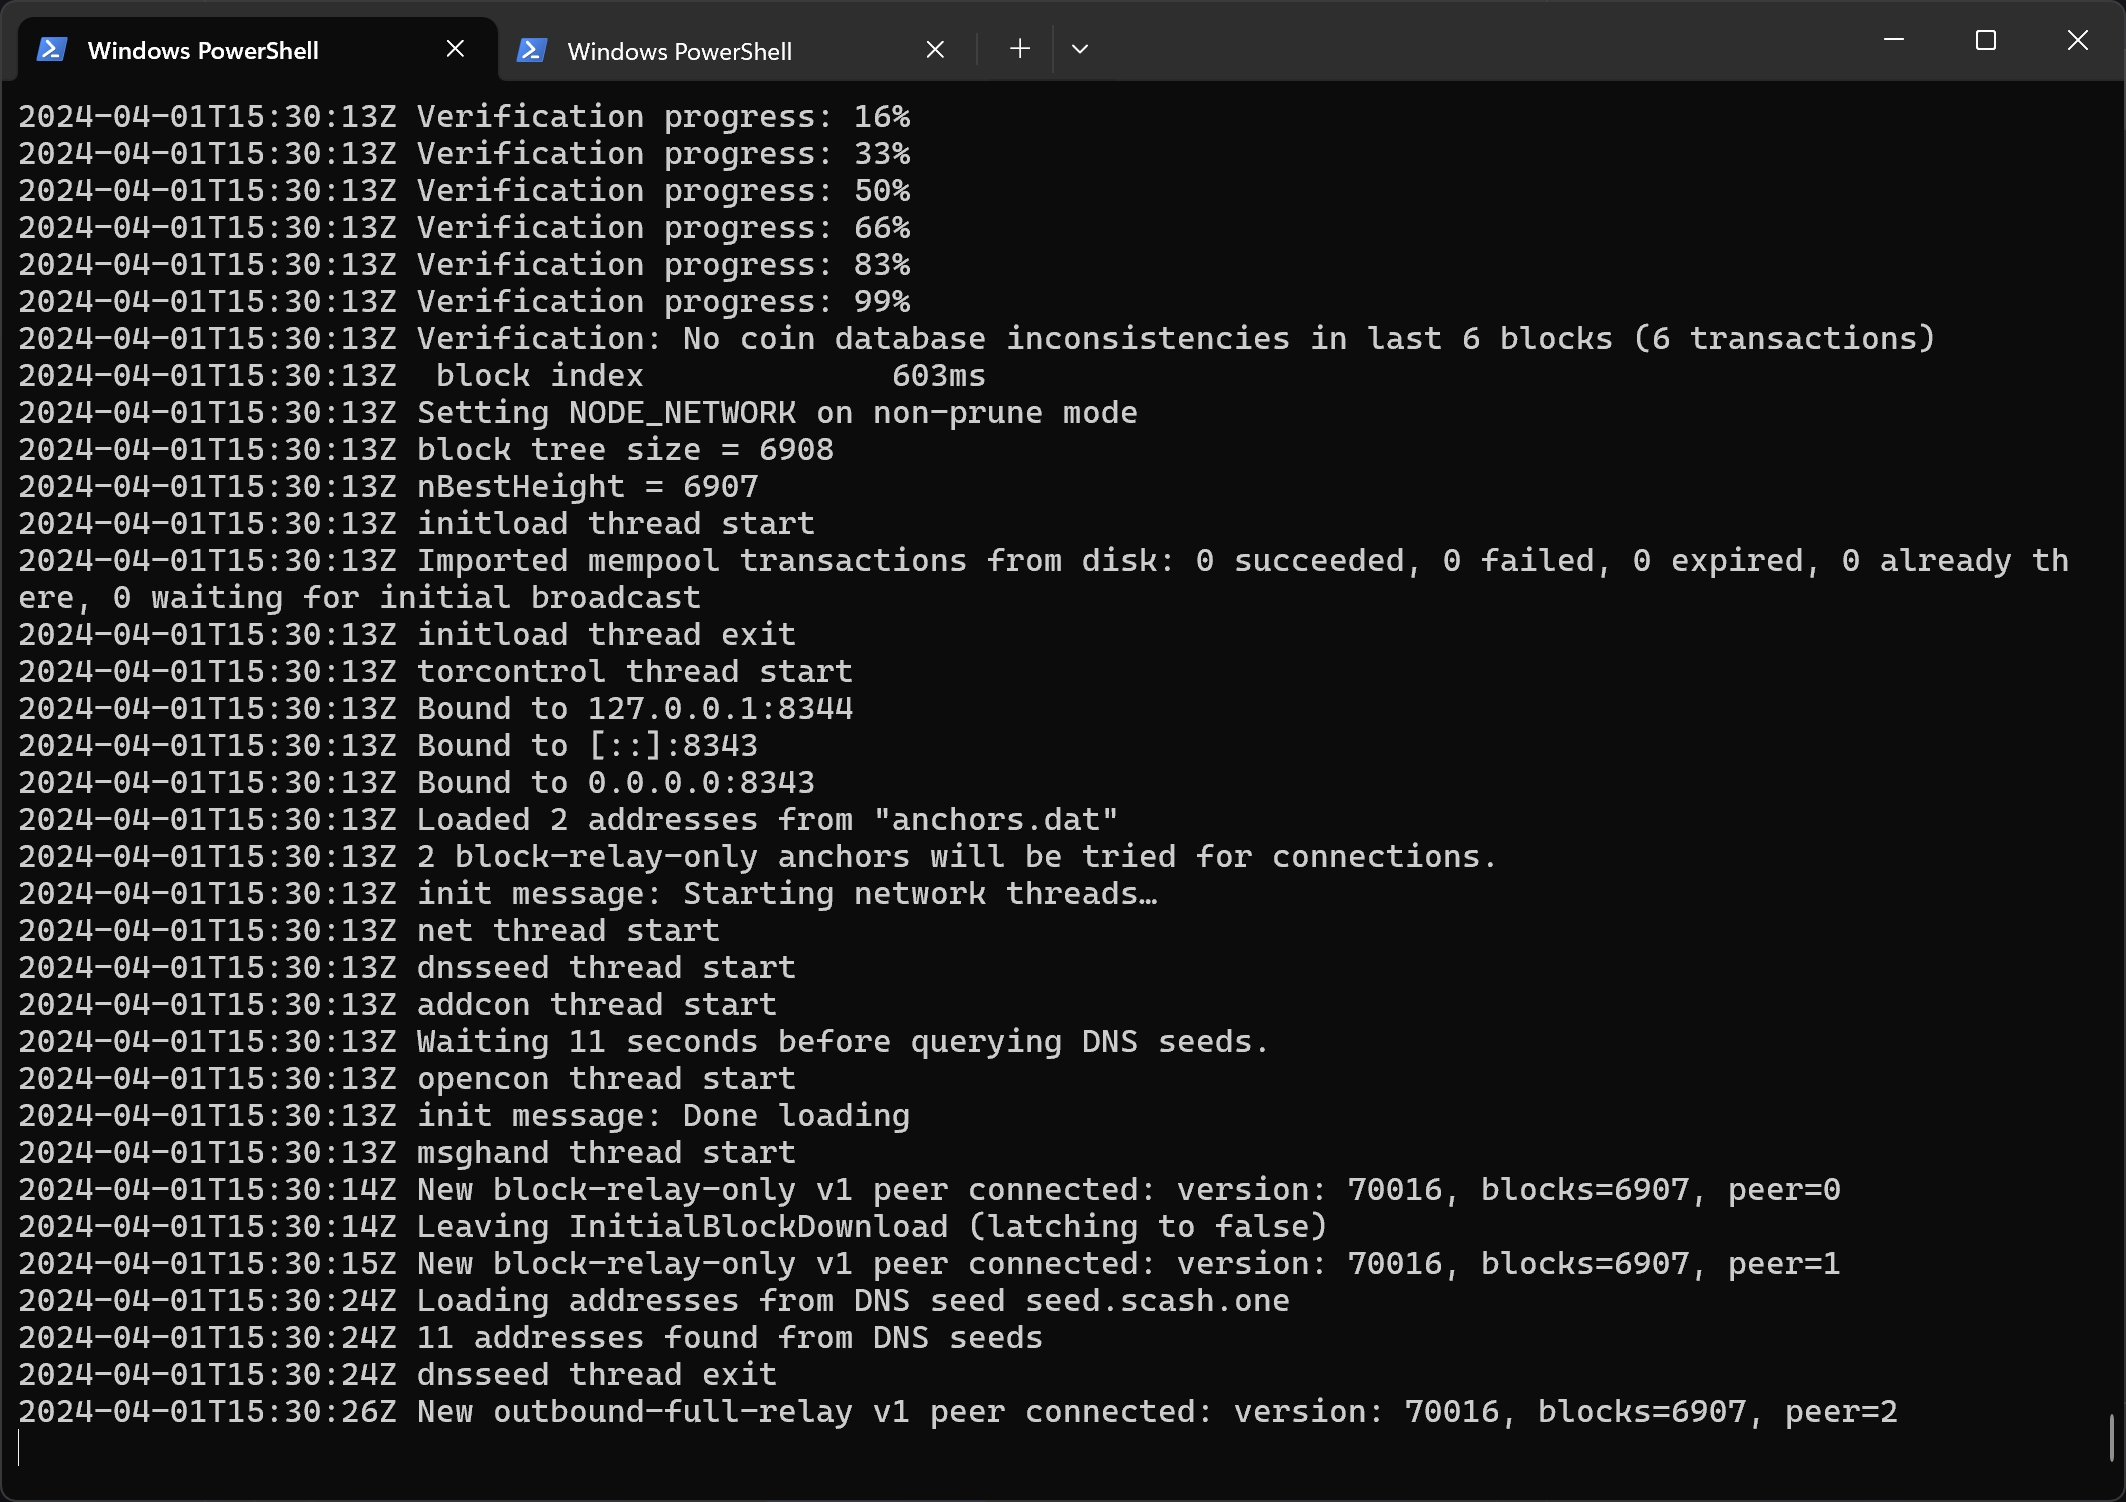
Step 10 Test Scash is accepting RPC commands
Enter the following command in a Windows Terminal (Powershell) to test that Scash is running in server mode and is accepting commands from tools, such as the standard scash-cli tool (and later, mining software).
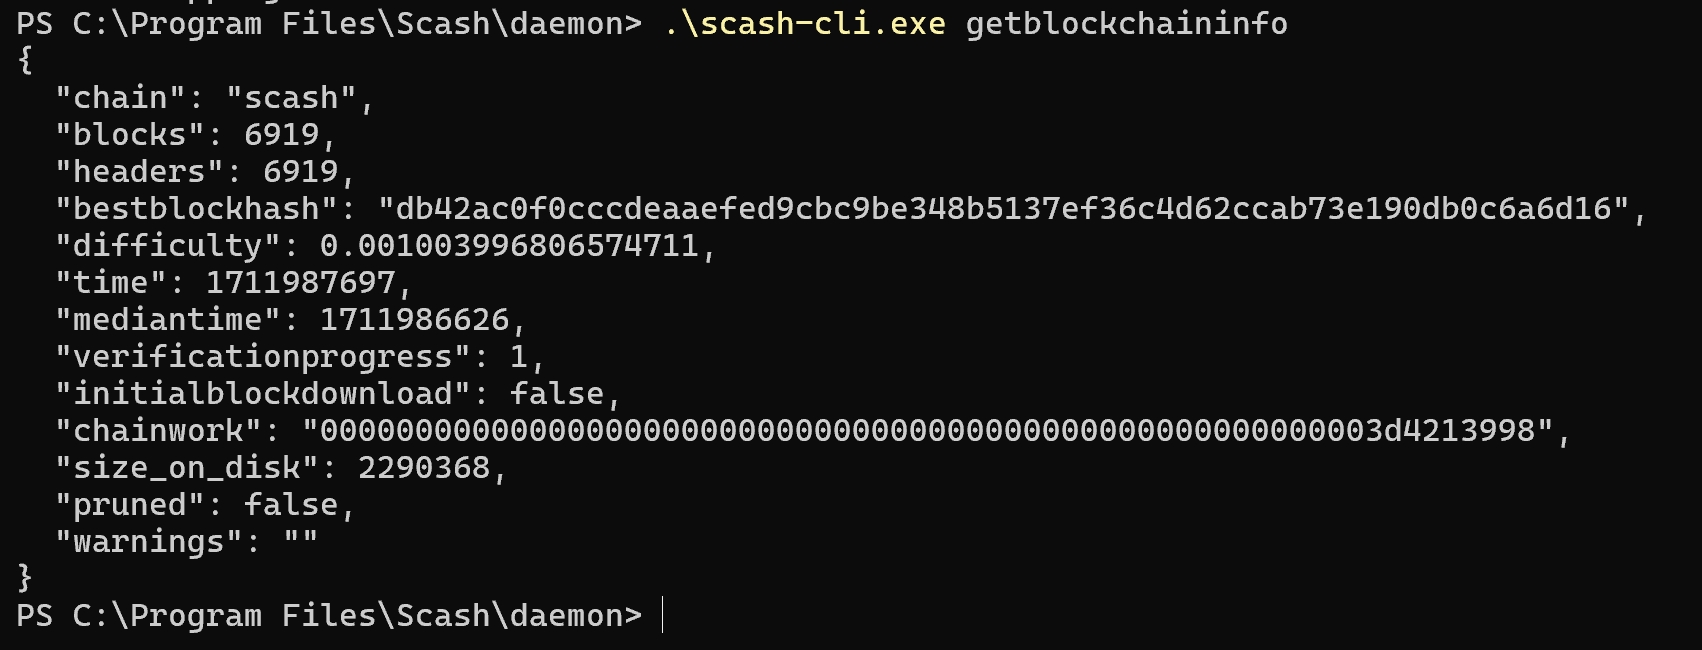
You should see output in the terminal similar to above.
If you don't, there is a problem communicating with the server application. Please check the previous steps above before continuing.
Step 11 Install the CPU mining software
Scash will now be ready for the mining software to connect to it.
It is highly recommended you build the mining software from source: https://github.com/scashnetwork/cpuminer-scash?tab=readme-ov-file#windows
If you don't want to build from source, download the latest binary release from https://github.com/scashnetwork/cpuminer-scash/releases
Step 12 Run the CPU mining software (Solo mining with node)
Run the mining software from Windows Terminal (or MSYS2 if you are using that).
This example will connect to the Scash application on your computer and launch 2 mining threads.
./minerd.exe --url=127.0.0.1:8342 --userpass=aladdin:opensesame --threads=2 --coinbase-addr=YOUR_SCASH_ADDRESS
The mining software will use just over 2GB of memory.
The username and password must match what you entered in the Scash configuration file from the earlier step.
When mining is running without error, you should see similar output to below:

The mining software will run continuously. To stop it, press CTRL-C.
Performance Tips
Check your Windows settings:
Turn off sleep and suspend so Windows doesn't goto sleep when you leave the computer to mine unattended e.g. overnight
Check your Windows performance profile. The default settings may throttle CPU usage and reduce your mining performance. Example: https://www.howtogeek.com/368781/how-to-enable-ultimate-performance-power-plan-in-windows-10/
Check any performance settings from computer manufacturer installed management software e.g. from Lenovo, HP, Dell, Asus etc.
Check performance related settings in your BIOS
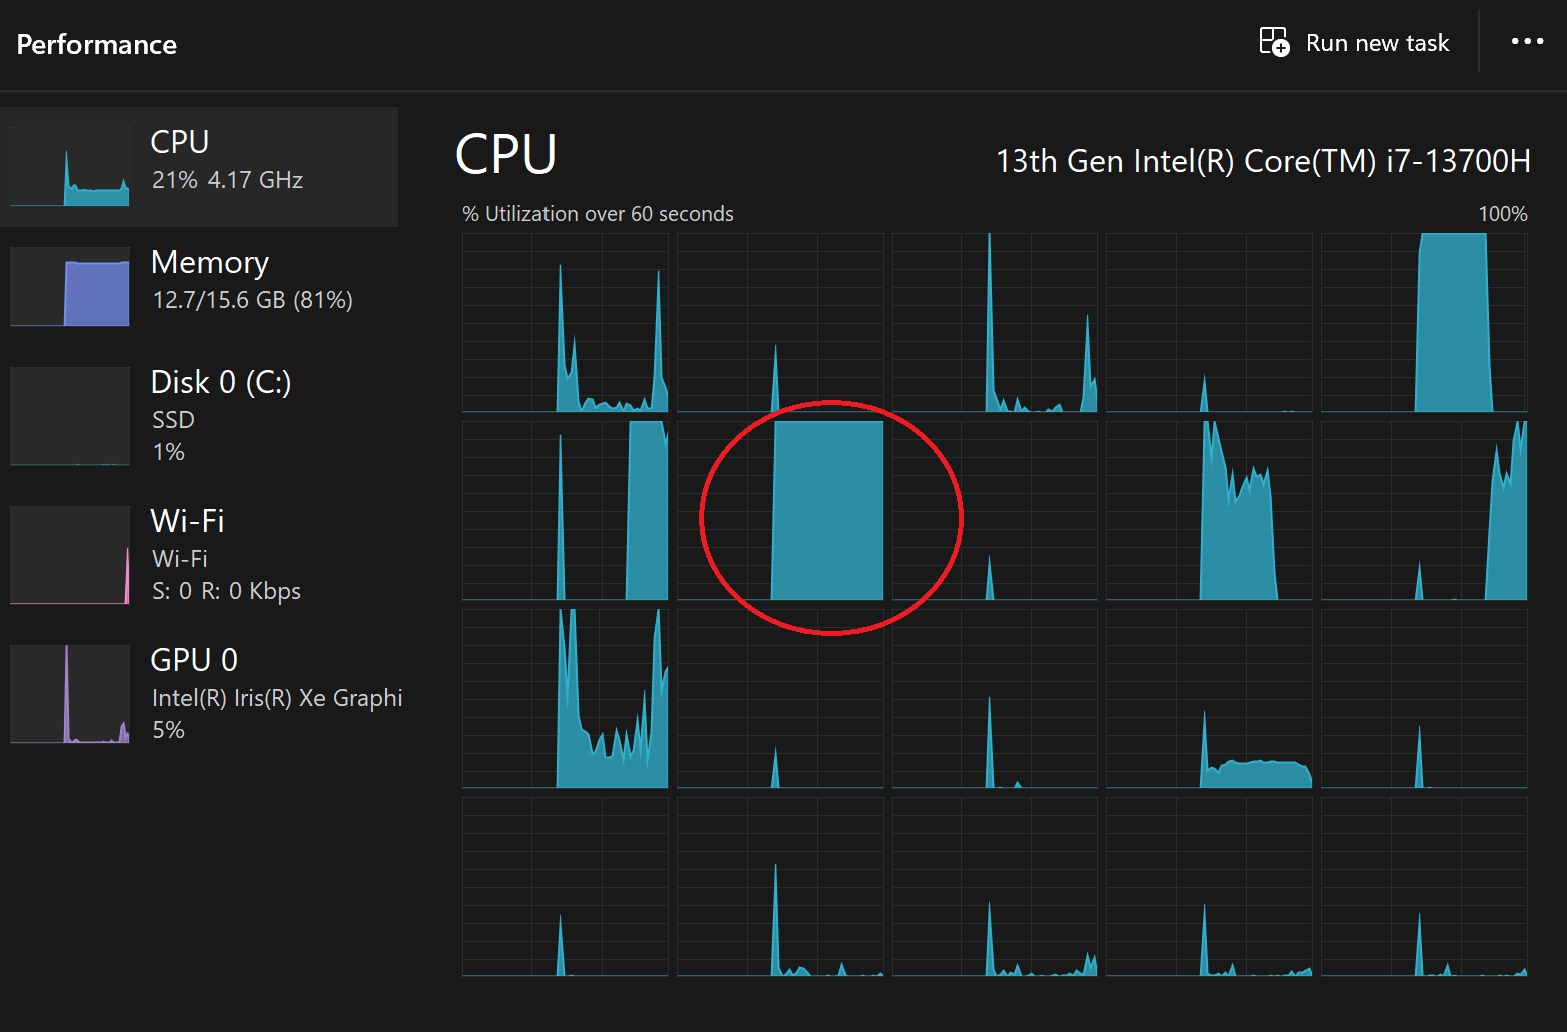
In Windows Task Manager. Select Performance, CPU and right-click over the CPU graph and select Logical Processors to get a detailed view of CPU usage. When mining you should see many of the processors max out.
Help and debugging:
Run minerd.exe -h to see the help file detailing options.
If you run into problems, add the following options when running minerd
The option --debug will output a lot of detailed diagnostic data.
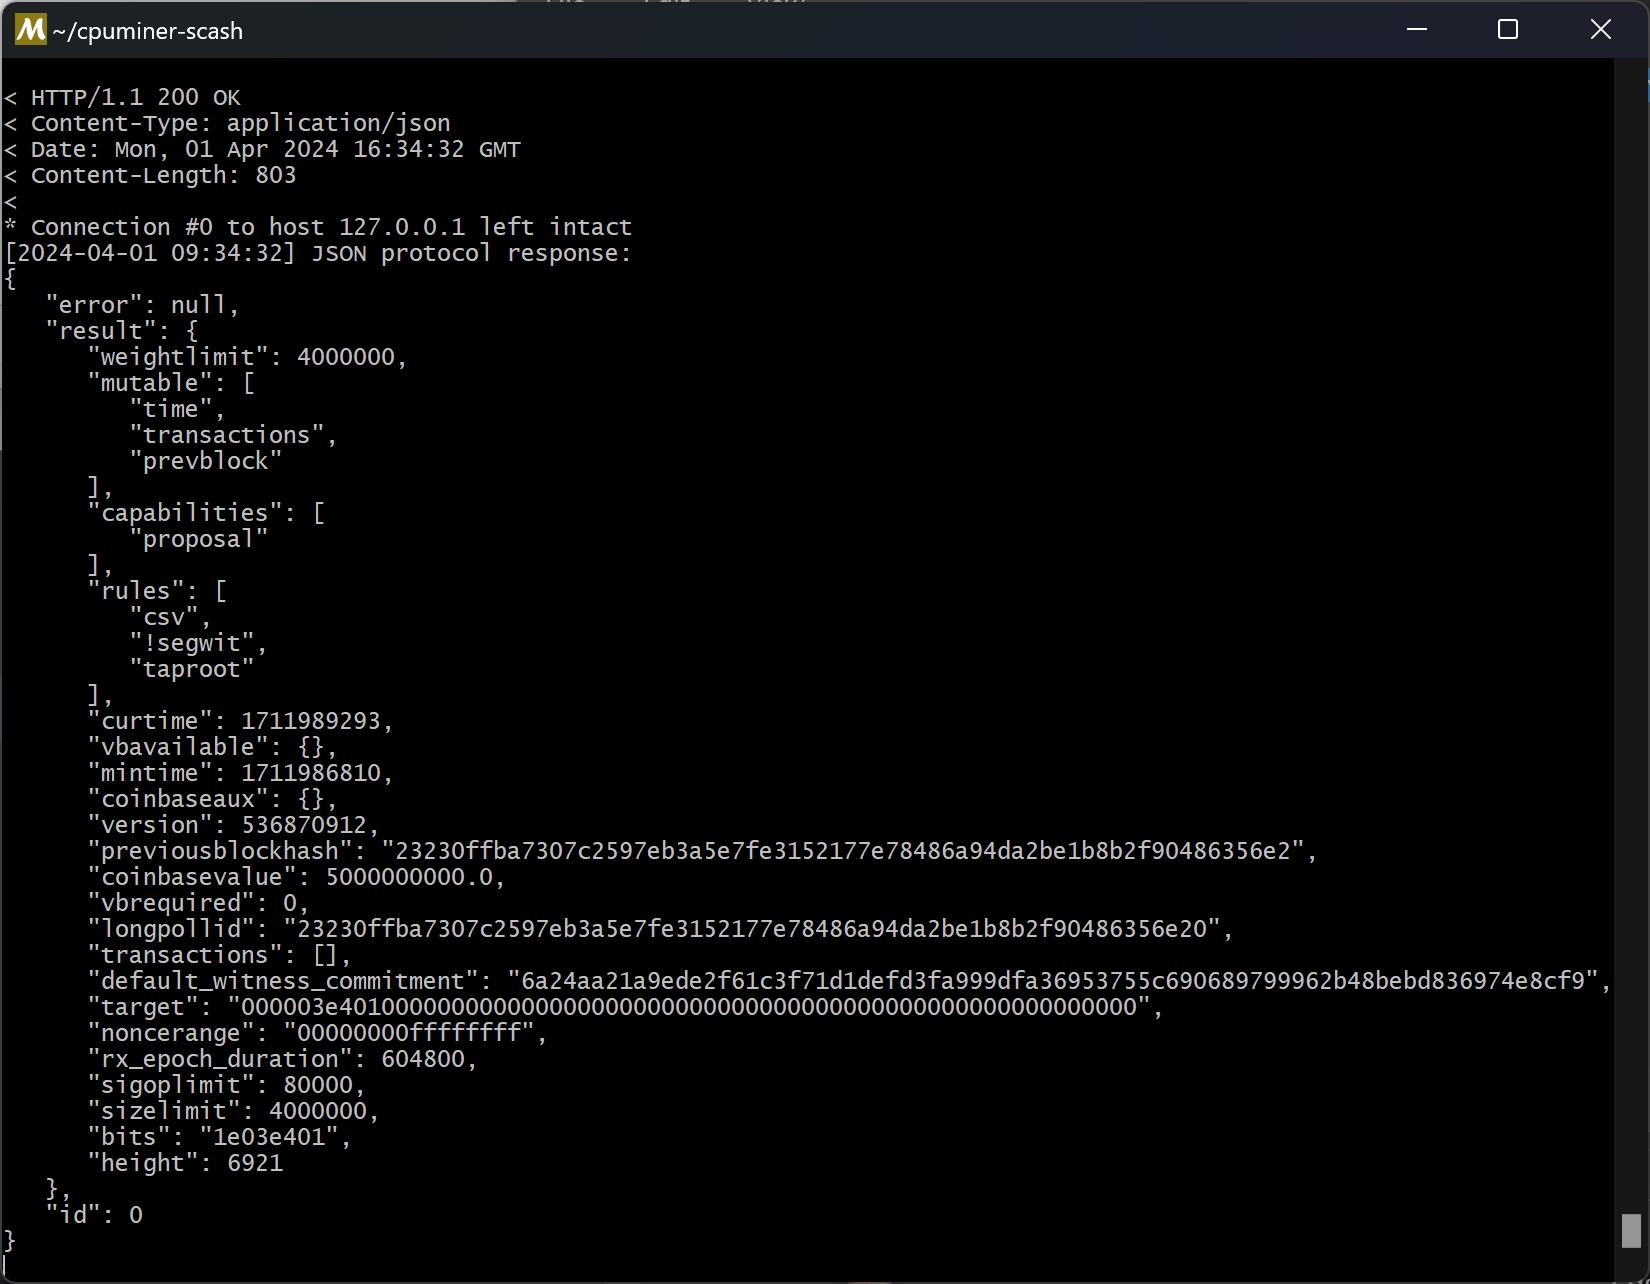
The option --protocol-dump you can verify that the mining software is communicating successfully with Scash, shown below:
Common Problem: 401 Unauthorized
Check that the username and password matches what is in the scash.conf configuration file. If they were changed recently, restart Scash to make sure it detects the change.

Common Problem: No connection
Check that the username and password matches what is in the scash.conf configuration file.
Check that the Scash GUI application has the 'Enable RPC server' setting in options is enabled.
Check that the Scash server application scashd.exe was launched with the -server option.

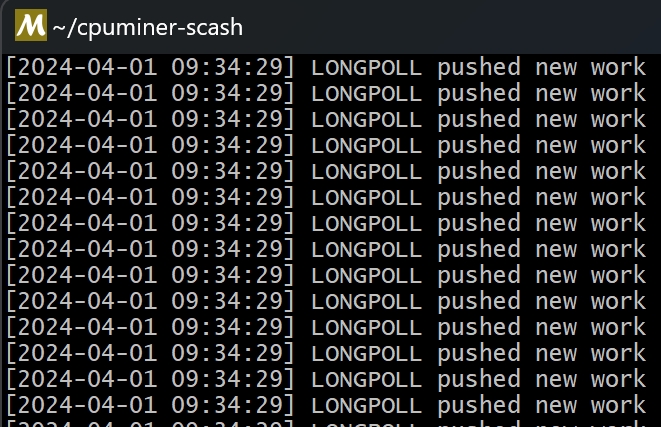
Common Problem: Many longpoll messages every second
The option --no-longpoll can be used if you see a lot of messages appearing on screen LONGPOLL pushed new work. This can heppen when Scash has just connected to the network and is not in sync, or has not received a new block in a while. Once new blocks have been found, you can stop the miner and relaunch without this option (for best mining performance, you don't want to run with this option).
Step 13: Run the CPU mining software (Mining pool)
Run the mining software from Windows Terminal (or MSYS2 if you are using that).
This example will connect to a mining pool.
./minerd.exe --url=stratum+tcps://pool.domain.com:1234 --user=checkyourpool --pass=checkyourpool
Step 14: Improve mining performance
Run ./minerd.exe --help to review the options available.
Review examples listed in the miner documentation: https://github.com/scashnetwork/cpuminer-scash
Step 15: Check your Scash mining balance
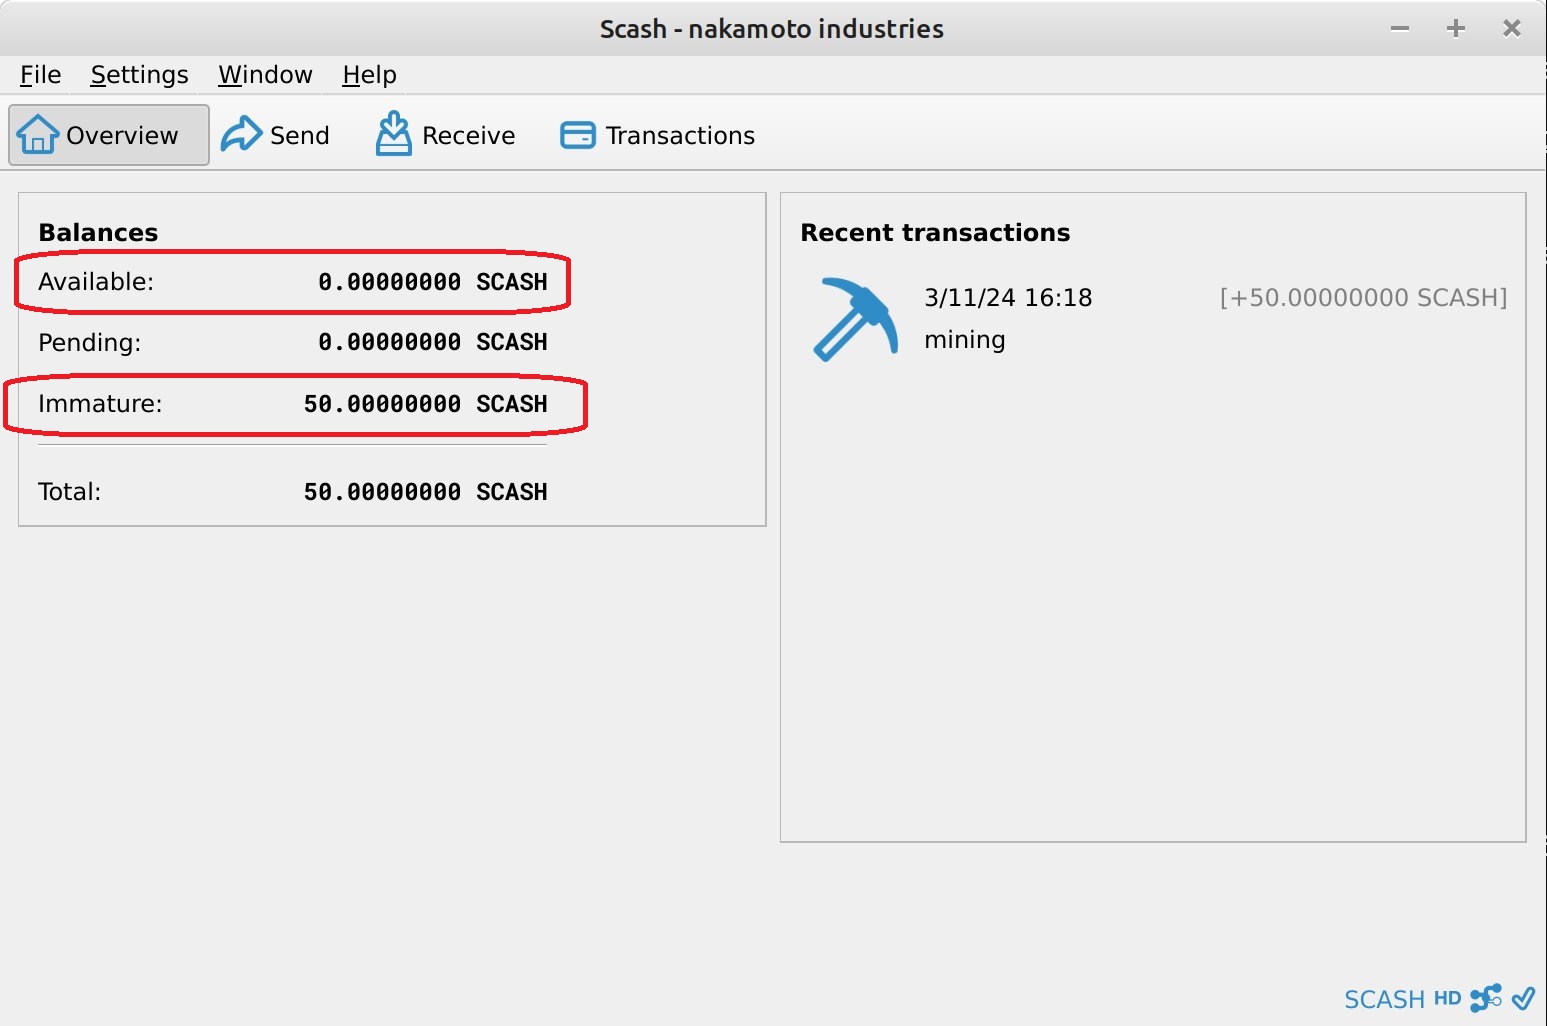
You can see any mined coins in the Scash GUI app. They appear with the mining icon in recent transactions.
In the terminal window where you launched the mining software, you may see the message accepted (4/5). This means you mined 5 blocks, 1 block was rejected by the network, 4 blocks were accepted. The current block reward is 50 coins, so you would expect to see 50 * 4 = 200 coins appear in your wallet.
Note that after mining, the coins cannot be spent, they are immature. It takes another 100 blocks from the time (block) of mining, before they can be spent.
In the example below, a block was mined containing 50 coins, but it is not available for spending yet and is still immature. If the block was mined at block 1000, it can be spent once the network reaches block 1100.
Last updated